
Upgrading your home or building with spray foam insulation is one of the most effective ways to improve energy efficiency, comfort, and long-term durability, especially in Northern Utah, where extreme seasonal temperature swings are the norm. If you’ve scheduled an insulation installation with Impact Insulation, you may be wondering what installation day actually looks like and how to prepare.
This guide walks you through exactly what to expect on installation day, step by step. Whether you’re insulating a new build, retrofitting an older home, or improving a commercial space in Cache Valley or the surrounding region, understanding the process ahead of time helps ensure a smooth, stress-free experience.
1. Pre-Installation Preparation: What Happens Before the Spray Foam Insulation Crew Arrives
Installation day actually begins before our crew pulls into your home. Proper preparation is critical for safety, performance, and long-term results.
Site Review and Confirmation
Prior to installation day, Impact Insulation confirms:
- The insulation type (open-cell or closed-cell spray foam)
- Target areas (walls, attic, crawl space, rim joists, or roof deck)
- Square footage and depth requirements
- Local building code compliance for Northern Utah jurisdictions
This ensures the crew arrives with the correct materials, equipment, and crew size.
Homeowner Insulation Preparation Checklist
You don’t need to do much, but a few simple steps help things move efficiently:
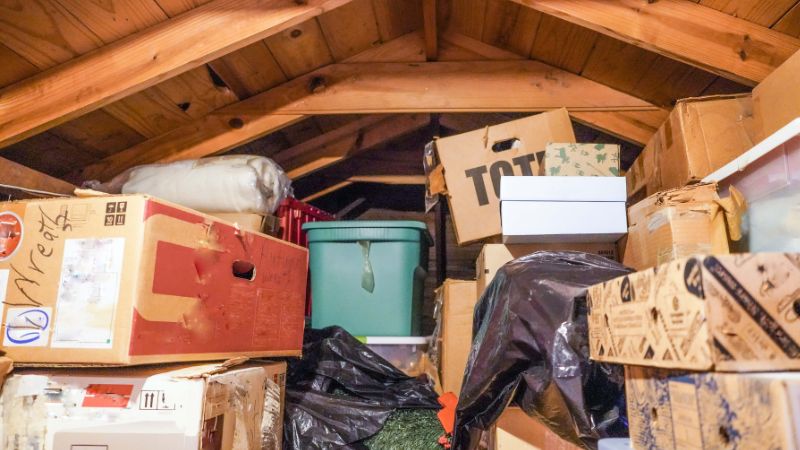
- Clear access to work areas (attic hatches, crawl spaces, garages)
- Remove stored items from affected spaces
- Make arrangements for pets and occupants to be away during spraying
Why this matters: Spray foam is applied as a liquid that expands rapidly. While safe once cured, the application process requires controlled conditions and limited occupancy.
Technical Term Explained: Spray Foam Insulation
Spray foam insulation is a two-component material that expands upon application, sealing air leaks while providing thermal resistance. Unlike fiberglass or cellulose, it both insulates and air-seals in one step.
2. Arrival, Setup, and Safety Measures
On installation day, the Impact Insulation crew arrives and begins with site setup and safety protocols.
Equipment and Material Setup
The crew will:
- Park spray rigs or trailers safely
- Run hoses from the rig to application areas
- Stage protective equipment and ventilation systems
Spray foam equipment is highly specialized and calibrated on-site to ensure proper chemical ratios and temperature.
Safety Is the Top Priority
Professional installers wear:
- Full protective suits
- Respirators
- Eye and skin protection
Ventilation fans are positioned to exhaust air safely from the home during application.
Technical Term Explained: Off Gassing
Off-gassing refers to the release of vapors during application and curing. These dissipate quickly with proper ventilation. This is why temporary vacancy is required during installation.
In most residential projects, re-entry is safe within 24 hours or less, depending on product specifications.
3. The Installation Process: How Spray Foam Is Applied
Once protective equipment and proper ventilation is staged, your home is ready for the most important part: the spray foam insulation application.
Step-by-Step Application
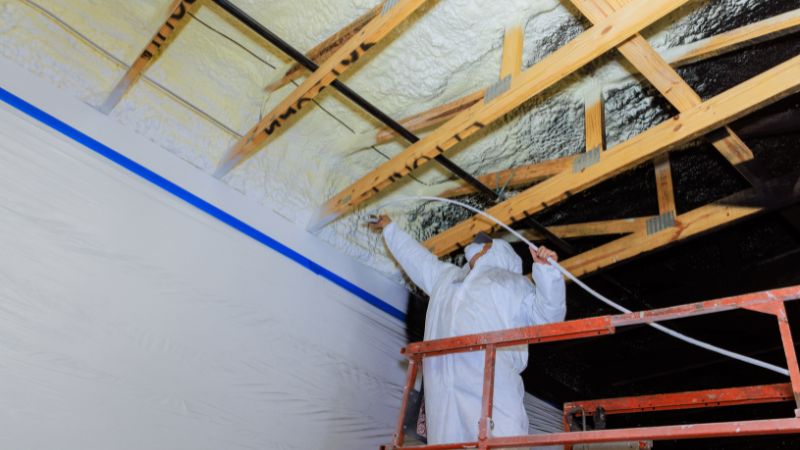
Once conditions are verified, installers:
- Apply spray foam in controlled passes
- Allow the material to expand and cure
- Build insulation thickness to specified R-values
Each area is approached differently based on structure and climate demands common to Cache Valley homes.
Technical Term Explained: R-Value
R-value measures resistance to heat flow. Higher R-values mean better insulation performance. Spray foam delivers higher effective R-values because it eliminates air leakage, not just heat transfer. Learn more.
Open-Cell vs. Closed-Cell Foam
- Open-cell foam is lighter, flexible, and excellent for sound control and interior applications.
- Closed-cell foam is dense, moisture-resistant, and adds structural strength, ideal for basements, crawl spaces, and exterior walls in Northern Utah’s variable climate.
Impact Insulation works with you to select the appropriate type based on your building’s needs and local conditions. Learn more.
4. Curing, Trimming, and Quality Control
After application, the foam cures rapidly, often within minutes.
Curing Phase
During curing:
- Foam reaches its final density
- Air sealing is fully achieved
- Chemical reactions complete
During the curing process, proper ventilation is important to ensure indoor air quality.
Trimming and Clean-Up
Excess foam is trimmed flush with framing where required, especially in wall cavities or areas receiving drywall.
The crew then:
- Removes protective coverings
- Cleans the work area
- Performs a final walkthrough
Quality Control Checks
Impact Insulation verifies:
- Uniform coverage
- Proper thickness
- No voids or missed areas
This attention to detail is particularly important in older Cache Valley homes where framing irregularities are common.
5. Post-Installation Expectations: What You’ll Notice Afterward
Once installation is complete and re-entry is approved, most homeowners notice benefits immediately.
Immediate Changes
- More consistent indoor temperatures
- Reduced drafts
- Quieter interior spaces
Long-Term Benefits
- Lower heating and cooling costs
- Reduce HVAC strain
- Improve indoor comfort year-round
According to the U.S. Department of Energy, air sealing and insulation can reduce energy bills by up to 20% in many homes.
6. Aftercare, Follow-Up, and Next Steps
Installation day doesn’t end the relationship, it begins it.
Final Review and Documentation
Impact Insulation provides:
- Confirmation of job completion
- Warranty information
- Guidance on next construction steps (drywall, finishes, HVAC)
When to Contact Impact Insulation
You should reach out if:
- You plan additional remodeling
- You want to insulate other areas
- You have questions about performance or energy savings
Local knowledge matters. Northern Utah homes face unique challenges: cold winters, hot summers, and altitude-driven temperature swings. Impact Insulation understands how to insulate for this climate specifically.
Ready to Schedule Your Installation?
If you’re located in Northern Utah, Cache Valley, Logan, Smithfield, Hyrum, or surrounding areas, Impact Insulation is ready to help you improve comfort, efficiency, and long-term value.
Contact Impact Insulation today to schedule your spray foam insulation consultation and take the first step toward a more efficient, comfortable building, installed right, the first time.